
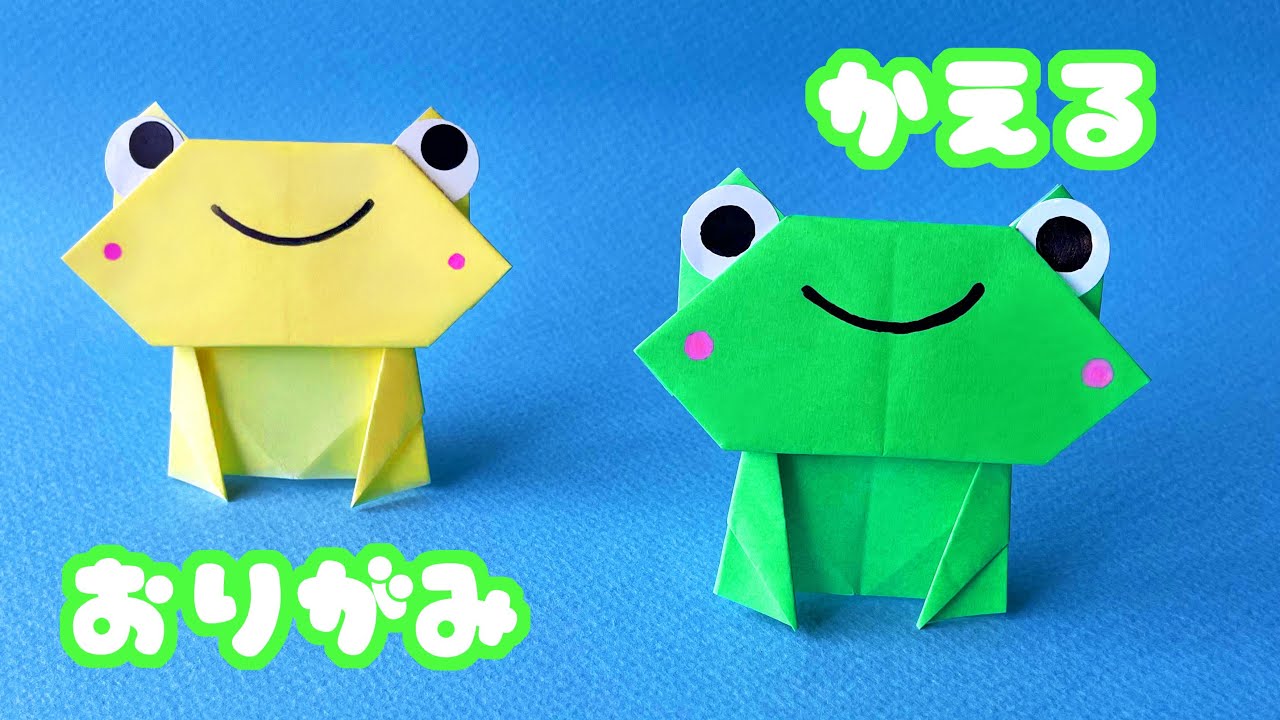
折り紙で蛙(かえる)の作り方を音声解説付きで紹介します。
折り紙一枚で作れます。
顔はお好みで作ってください。ペンで描いたり、シールを貼ったり、動画ではクラフトパンチで切り抜いた丸い折り紙を張り付けています。
目は折って作ることもできます。
足を折れば立てて飾ることもできます。
とてもかわいいので、梅雨の時期の飾り付けに是非作ってみて下さい。
動画内で使用した材料のサイズ
本体=15㎝×15㎝
目の白い部分=直径14mmのパンチで切り抜いた折り紙
目の黒い部分=直径6mmのパンチで切り抜いた折り紙
できあがりのサイズ=たて約7㎝×よこ約6.5㎝
【創作折り紙】~たつくりオリジナル~
この他にも梅雨(6月)の折り紙の動画があるので、是非ご覧ください。
6月 梅雨(つゆ)の折り紙まとめ Summary of origami of the rainy season
I will introduce how to make a frog with origami with audio commentary.
You can make it with a single sheet of origami.
Make your face as you like. I draw with a pen, stick a sticker, and in the video, I stick a round origami cut out with a craft punch.
You can also fold the eyes.
You can also stand up and decorate by folding your legs.
It’s very cute, so please make it as a decoration during the rainy season.
The size of the material used in the video
Body = 15 cm x 15 cm
White part of the eyes = Origami cut out with a punch with a diameter of 14 mm
Black eyes = origami cut out with a punch with a diameter of 6 mm
Finished size = vertical approx. 7 cm x horizontal approx. 6.5 cm
There is also a video of the rainy season (June) origami, so please take a look.
[Creative Origami] -Original Tatsukuri-
コメント